The creator economy has experienced explosive growth in recent years. From income portfolios to hobby enthusiasts, motivations within the industry have varied. However, what remains constant is the need for great tools. As a creator, one of the most powerful web3 tools available to you is Create by Zora.
Zora is a decentralized protocol where anyone can buy, sell, and create NFTs. With a current series of seven tools, their creator suite handles the complexities of releasing an NFT collection and offers essential benefits including:
Customization Features
Creator Free Fees
Gas Efficiency
In this guide, you’ll learn how to create an NFT collection with no code using Zora’s creator tools!
GETTING STARTED
You don't need to spend real money to learn about Zora. You can test the process using their mock environment, which replicates the real deal. This way, when you're ready to release an NFT collection, you can follow the same steps with confidence.
WEB3 WALLET
The first thing you’ll need is a wallet. Web3 wallets allow you to access funds, interact with decentralized applications, collect NFTs, and more. To learn about them in detail, check out this guide by Alchemy.
There are multiple wallet options, but we'll be using one of the most popular ones: Metamask. To get a Metamask wallet, follow the instructions on their official website here https://metamask.io/download/.
TESTNET FUNDS
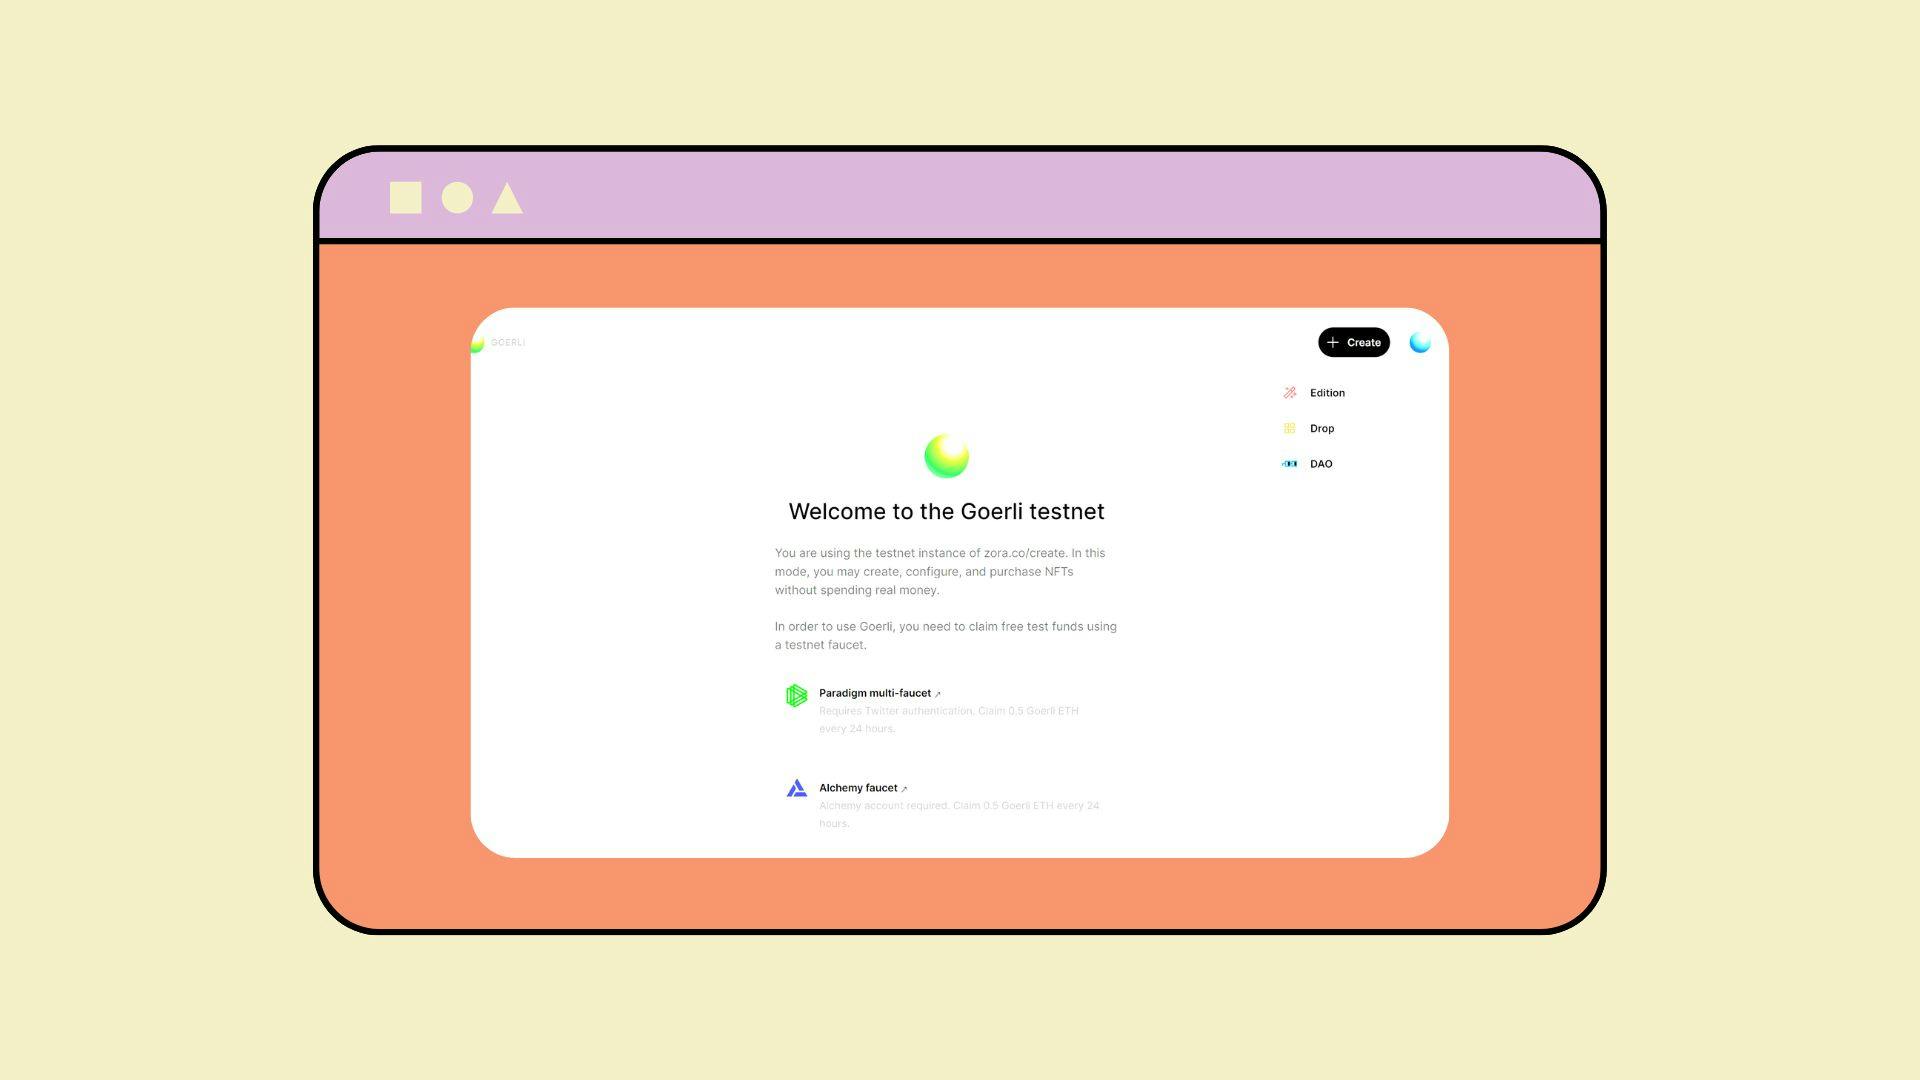
Next, head to testnet.zora.co. Zora's testnet website offers two ways to claim free test funds. Why do you need test funds? Well, pushing your NFT collection to the blockchain requires cryptocurrency. By testing the process with fake cryptocurrency, you can learn how it works - hence the name testnet 🙂.
Select one of the options and follow the instructions. By this point, you should have your Metamask wallet and test funds from Goerli. To make sure the funds are in your wallet, click on the Metamask icon in your browser bar. Select the network drop-down at the top of the wallet popup and choose Goerli test network.
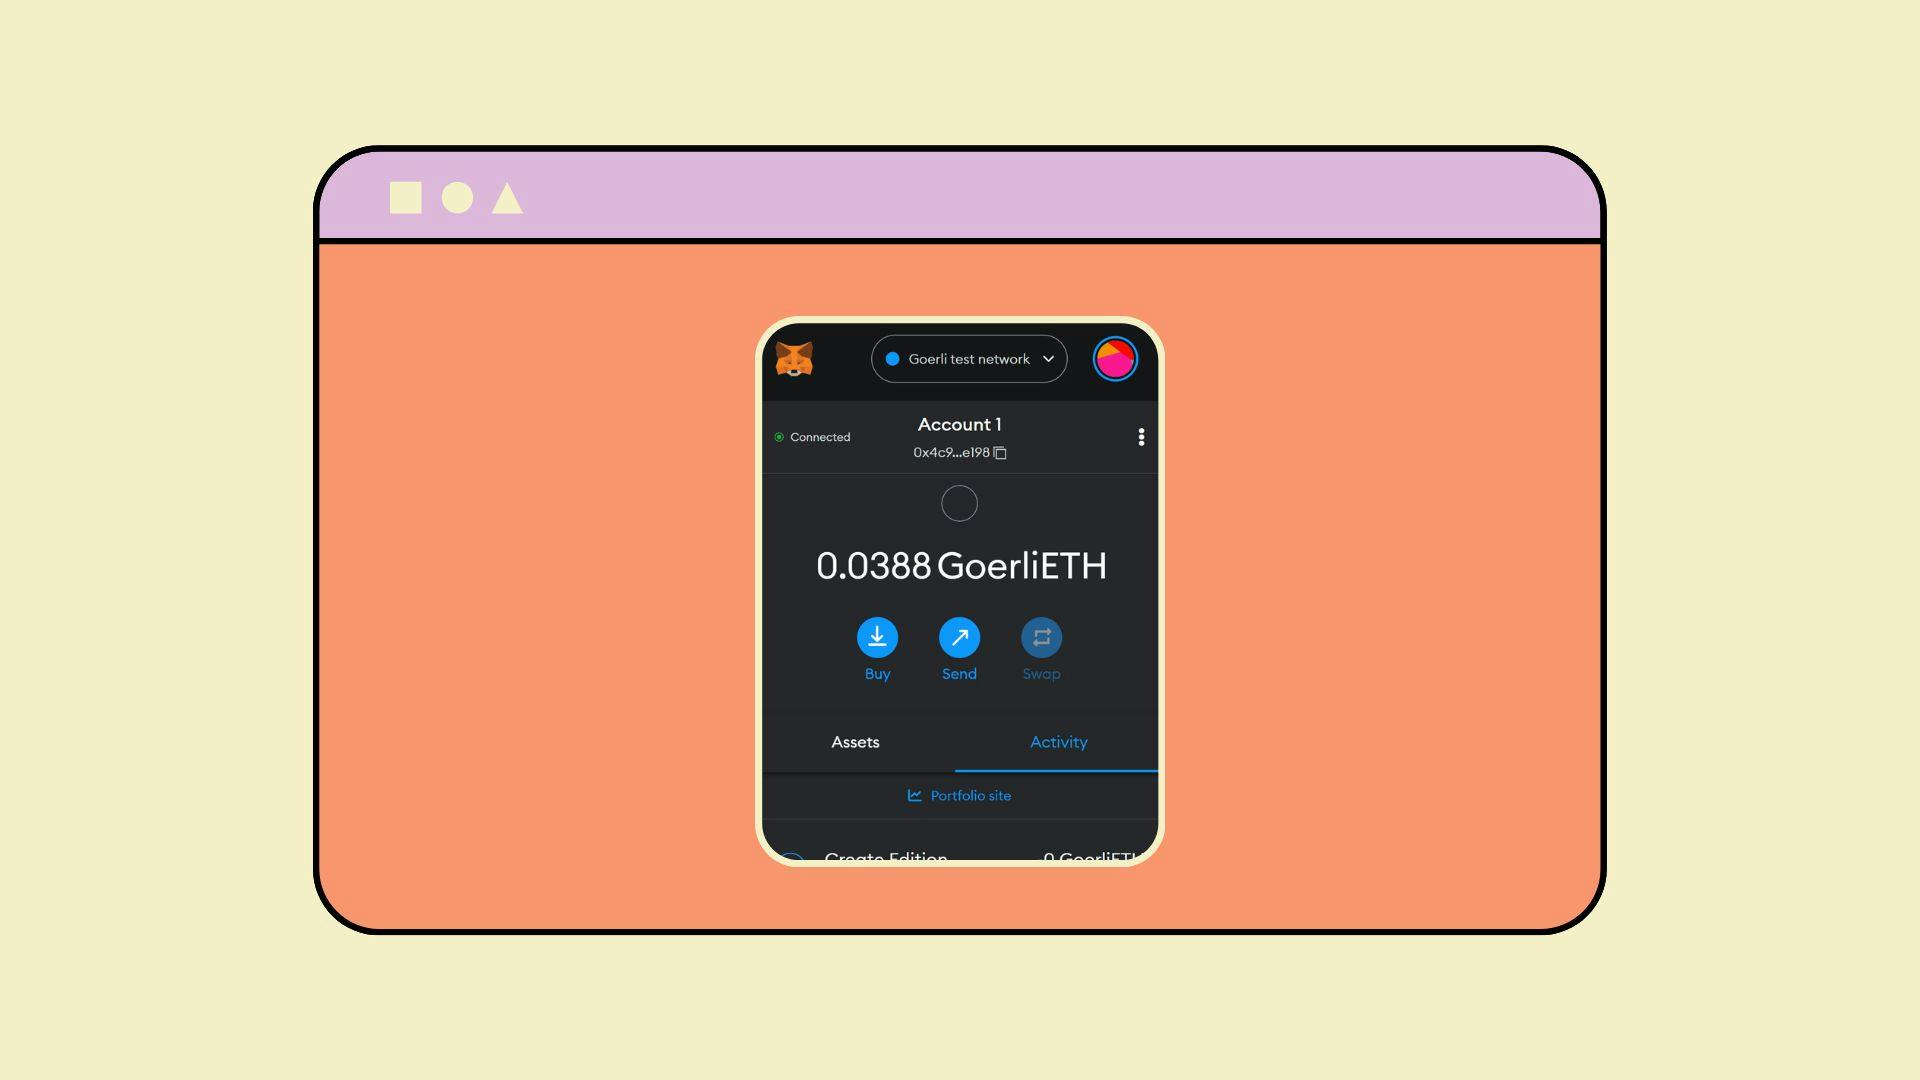
If your wallet looks similar to this, then your test funds are good to go!
SETUP COLLECTION
CREATE COLLECTION
Head back to testnet.zora.co. Click the “Create a collection” button at the bottom of the page. You’ll see two options, Editions and Drops. Zora Editions are NFT collections that share the same media asset. Zora Drops are NFT collections that have different media assets.
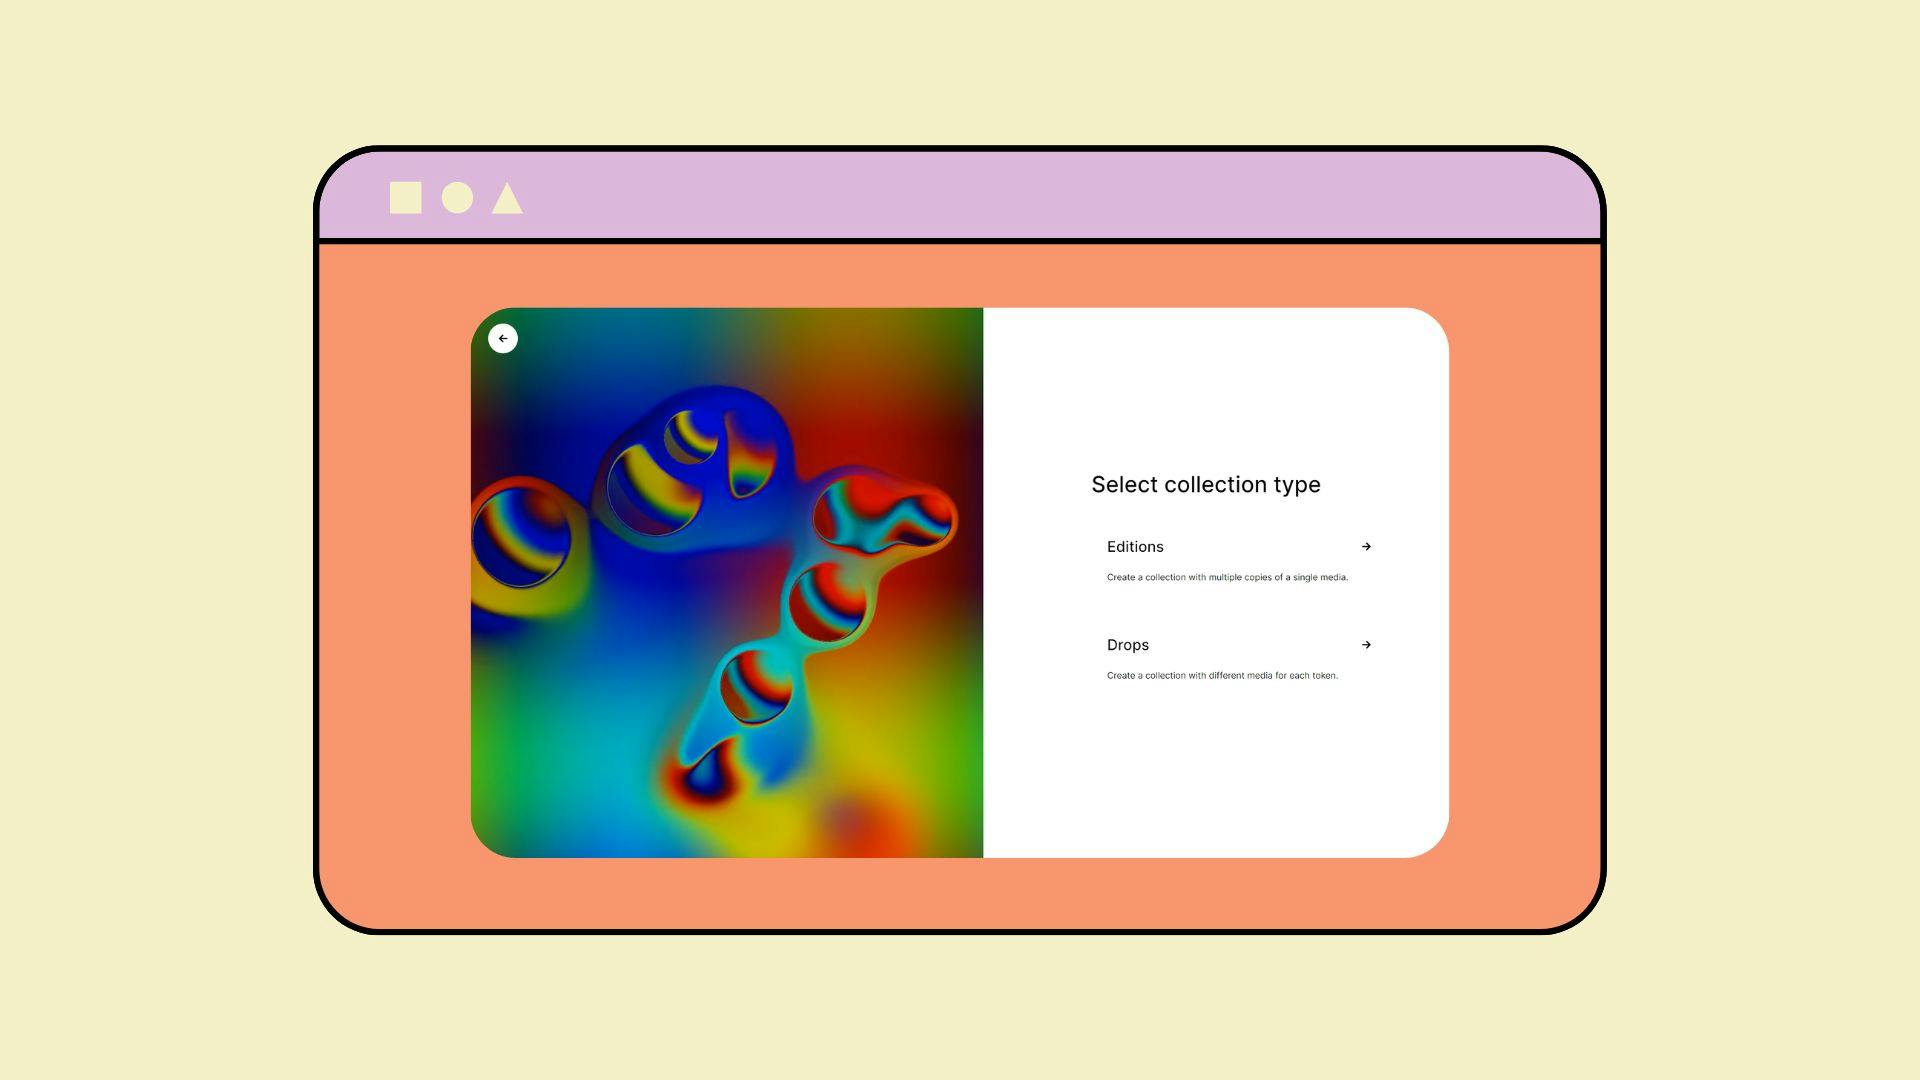
You could select Editions from the drop-down menu or the full-page menu.
SELECT EDITIONS
In this guide, you will be creating a Zora Edition. After selecting this option, a prompt will appear asking you to complete the details of your NFT collection.
COLLECTION DETAILS
This is where we can see the power of Zora's Creator Suite. It removes the technical work, allowing us to focus on providing creative details for our collection. Simply fill in your collection details, including the price and how long you want to sell your NFTs.
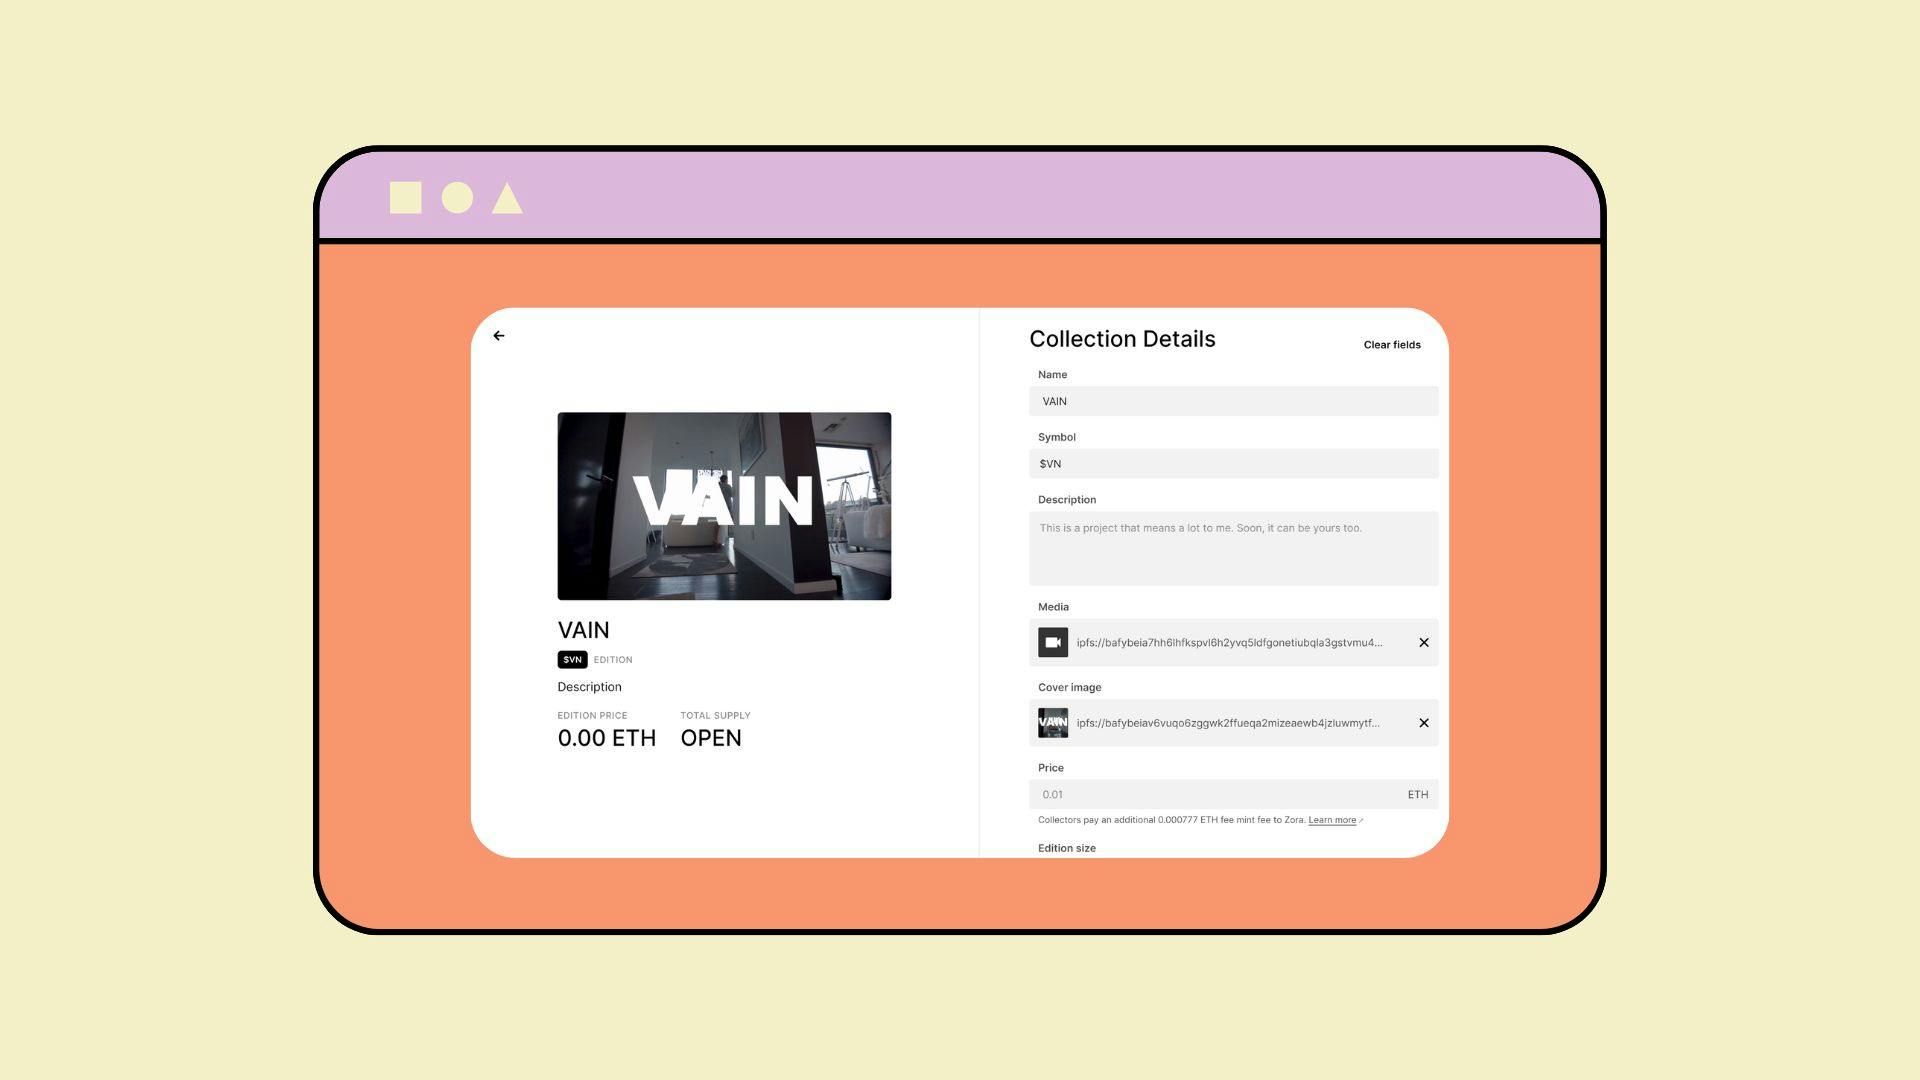
You should see this screen to fill out your collection details.
CREATE COLLECTION & PAY GAS
After completing the details, select "create". Metamask will then appear, displaying the amount of fake test funds you need to pay to create your NFT collection. This fee is referred to as "gas". Gas is the fee required to complete a transaction on the Ethereum blockchain. To learn about it in detail, check out this article by MoonPay.
Select confirm in the Metamask popup to pay the gas fee. Once the transaction is complete, Zora will confirm that your NFT collection was created.
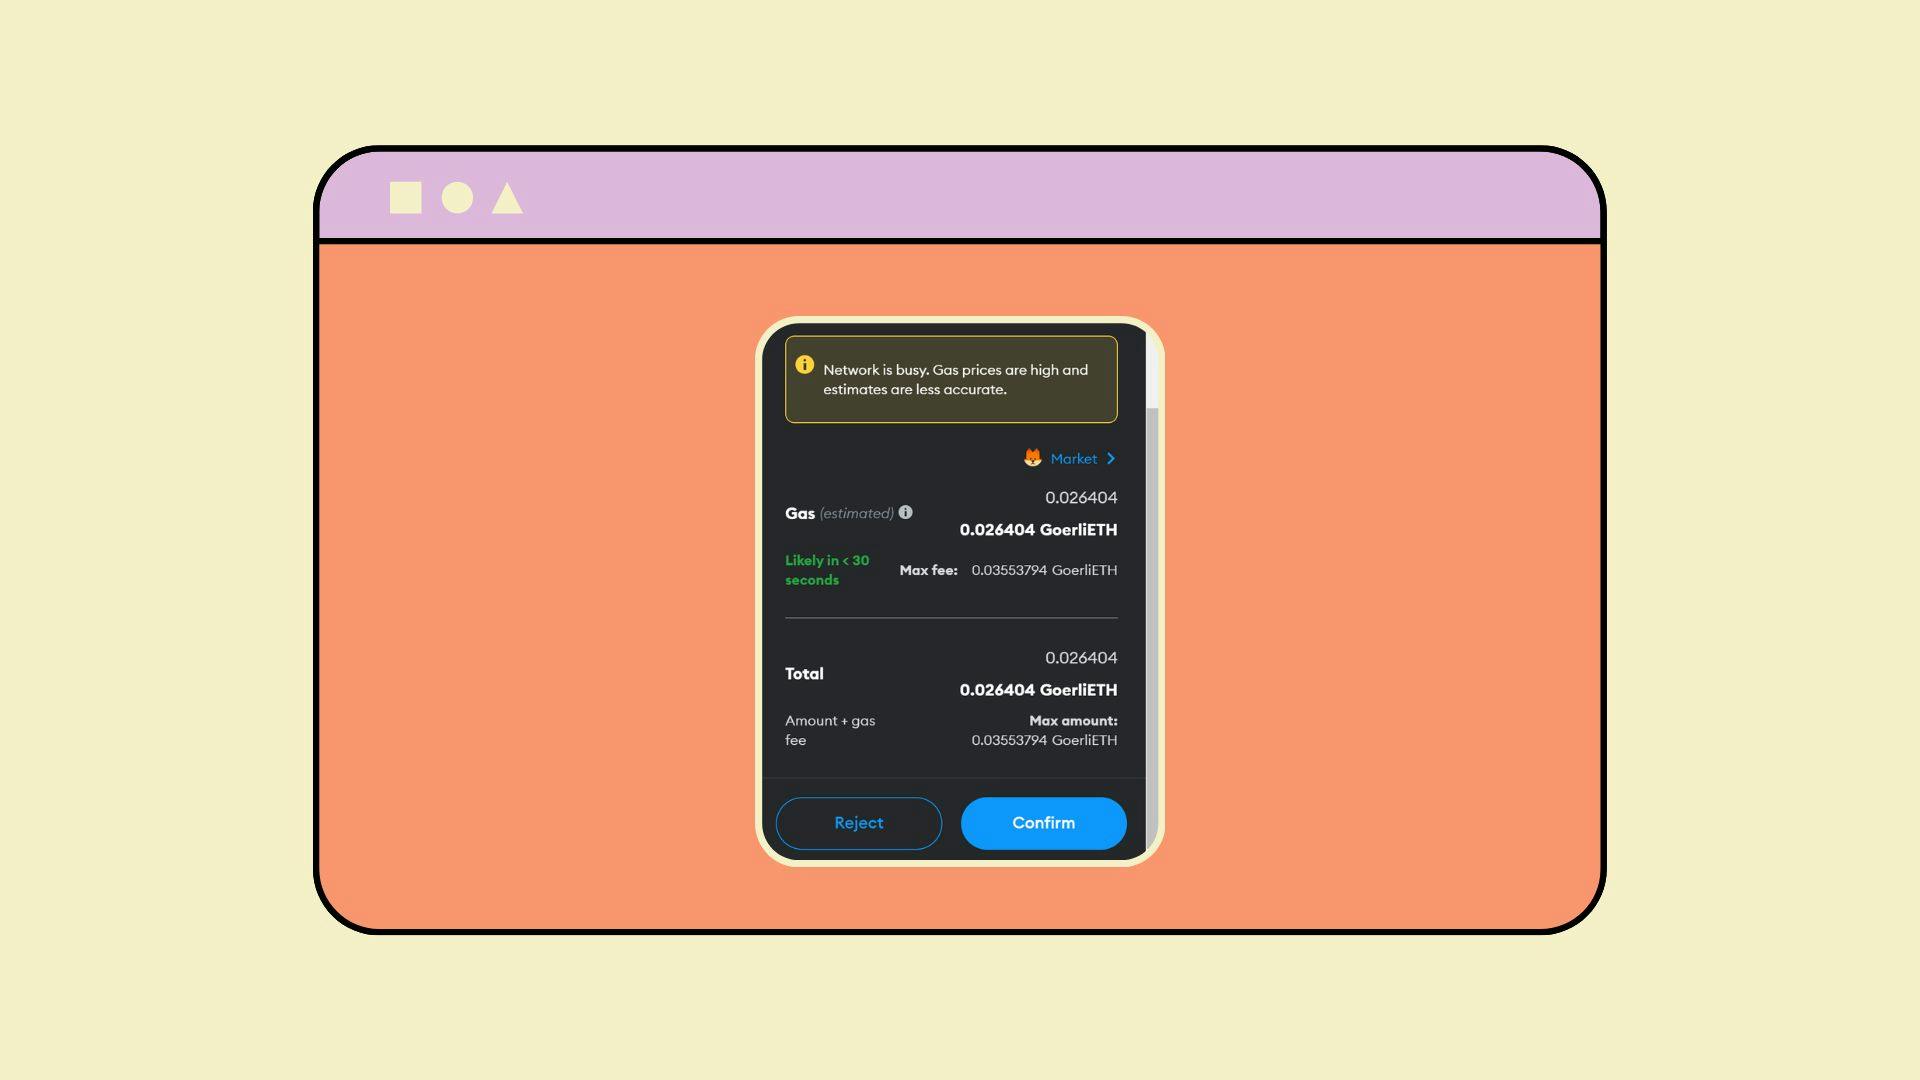
This is what gas fees for the transaction look like, or simply put, a gas transaction.
CUSTOMIZE THEME & WEBSITE
In a previous section, I mentioned additional benefits of Zora's Creator Suite. One of those benefits is customization. Zora allows you to easily customize the theme and website for your NFT collection. You can select "Customize" to change the details of your collection's website. Use one of the templates or design your own fonts, colors, and more.
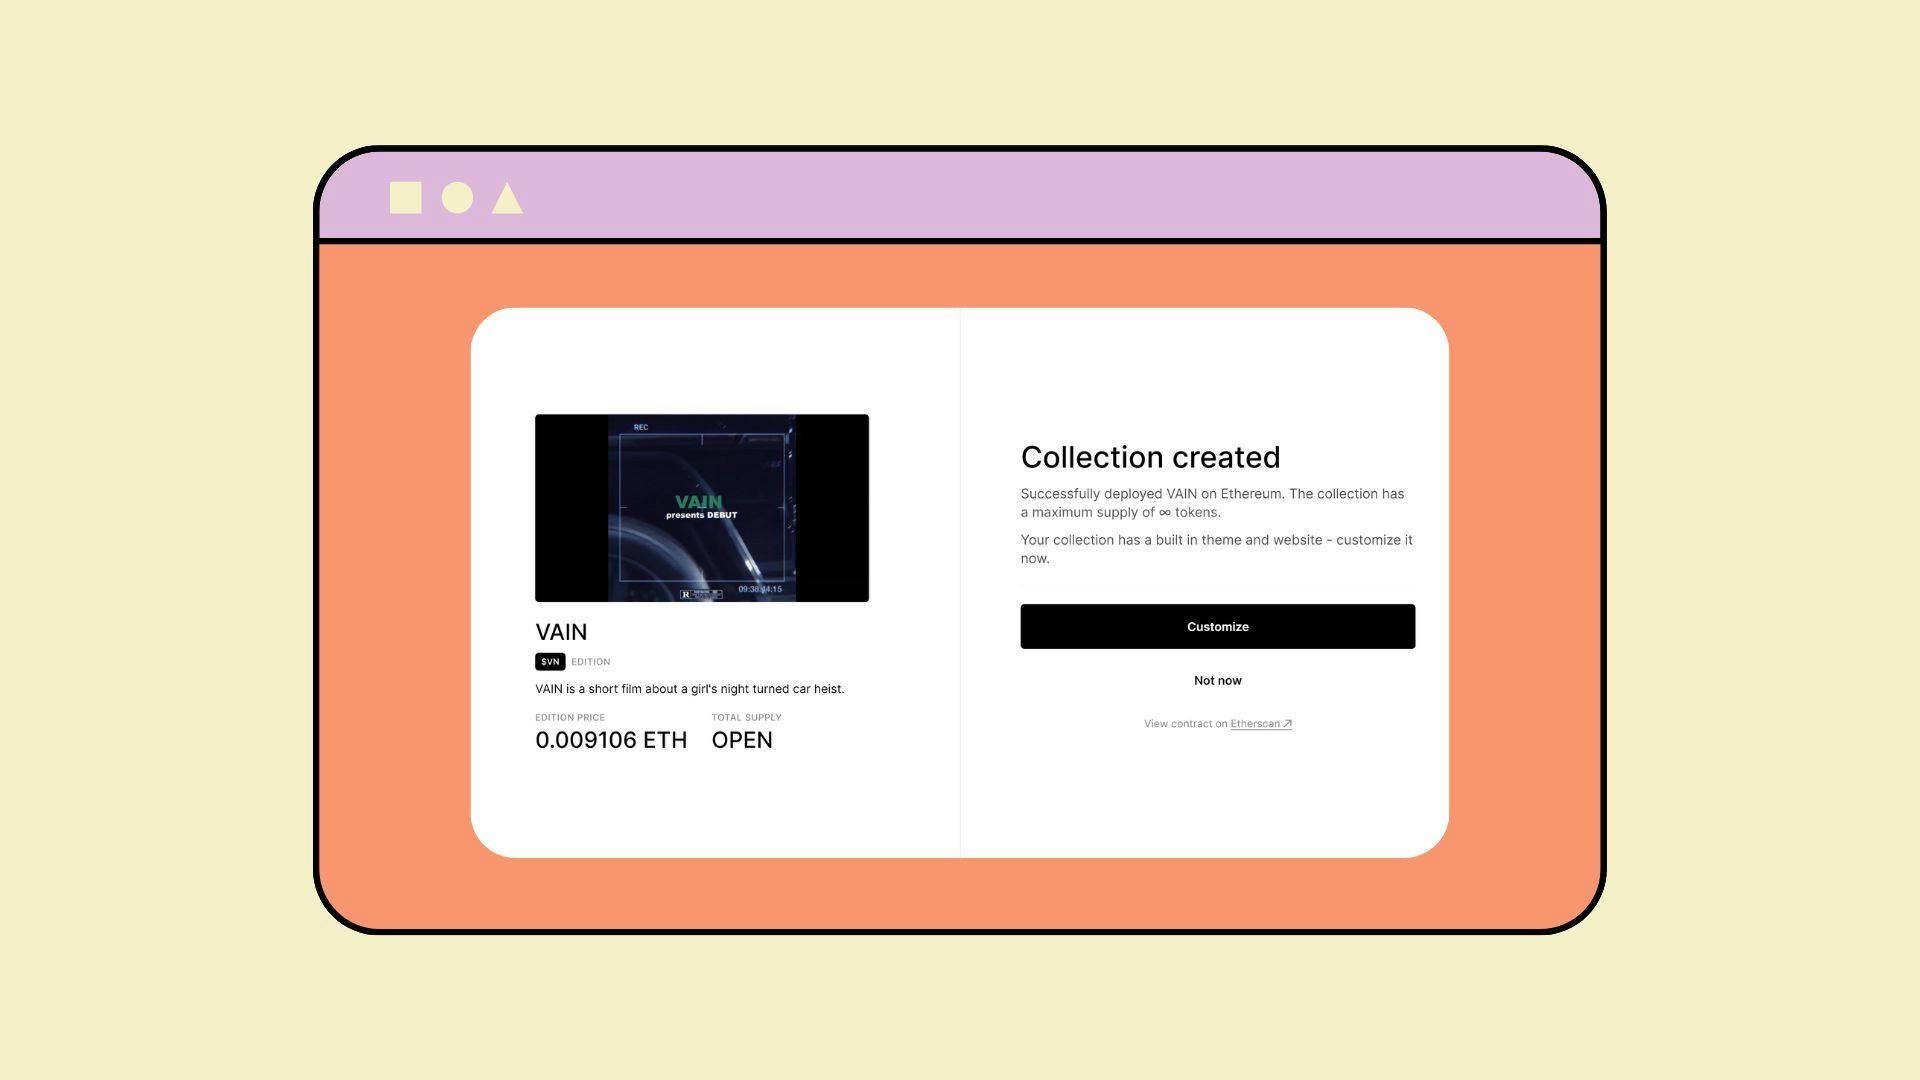
You should see Zora’s customization prompt.
DEPLOY WEBSITE & PAY GAS
Once you have selected your preferred design, save it and pay for the gas required to publish your website.
CONCLUSION
CONGRATS! You’ve officially created your first Zora Edition. In this guide, you learned the basics of web3 wallets, testnets, gas, and Zora Protocol. For an in-depth introduction to web3, check out:
For an in-depth look at Zora’s community and how other creators are leveraging their protocol, follow them on Twitter. To say hello, share the edition you created following this guide, or read my next guide, which is designed to be creator-friendly; find me on Twitter.
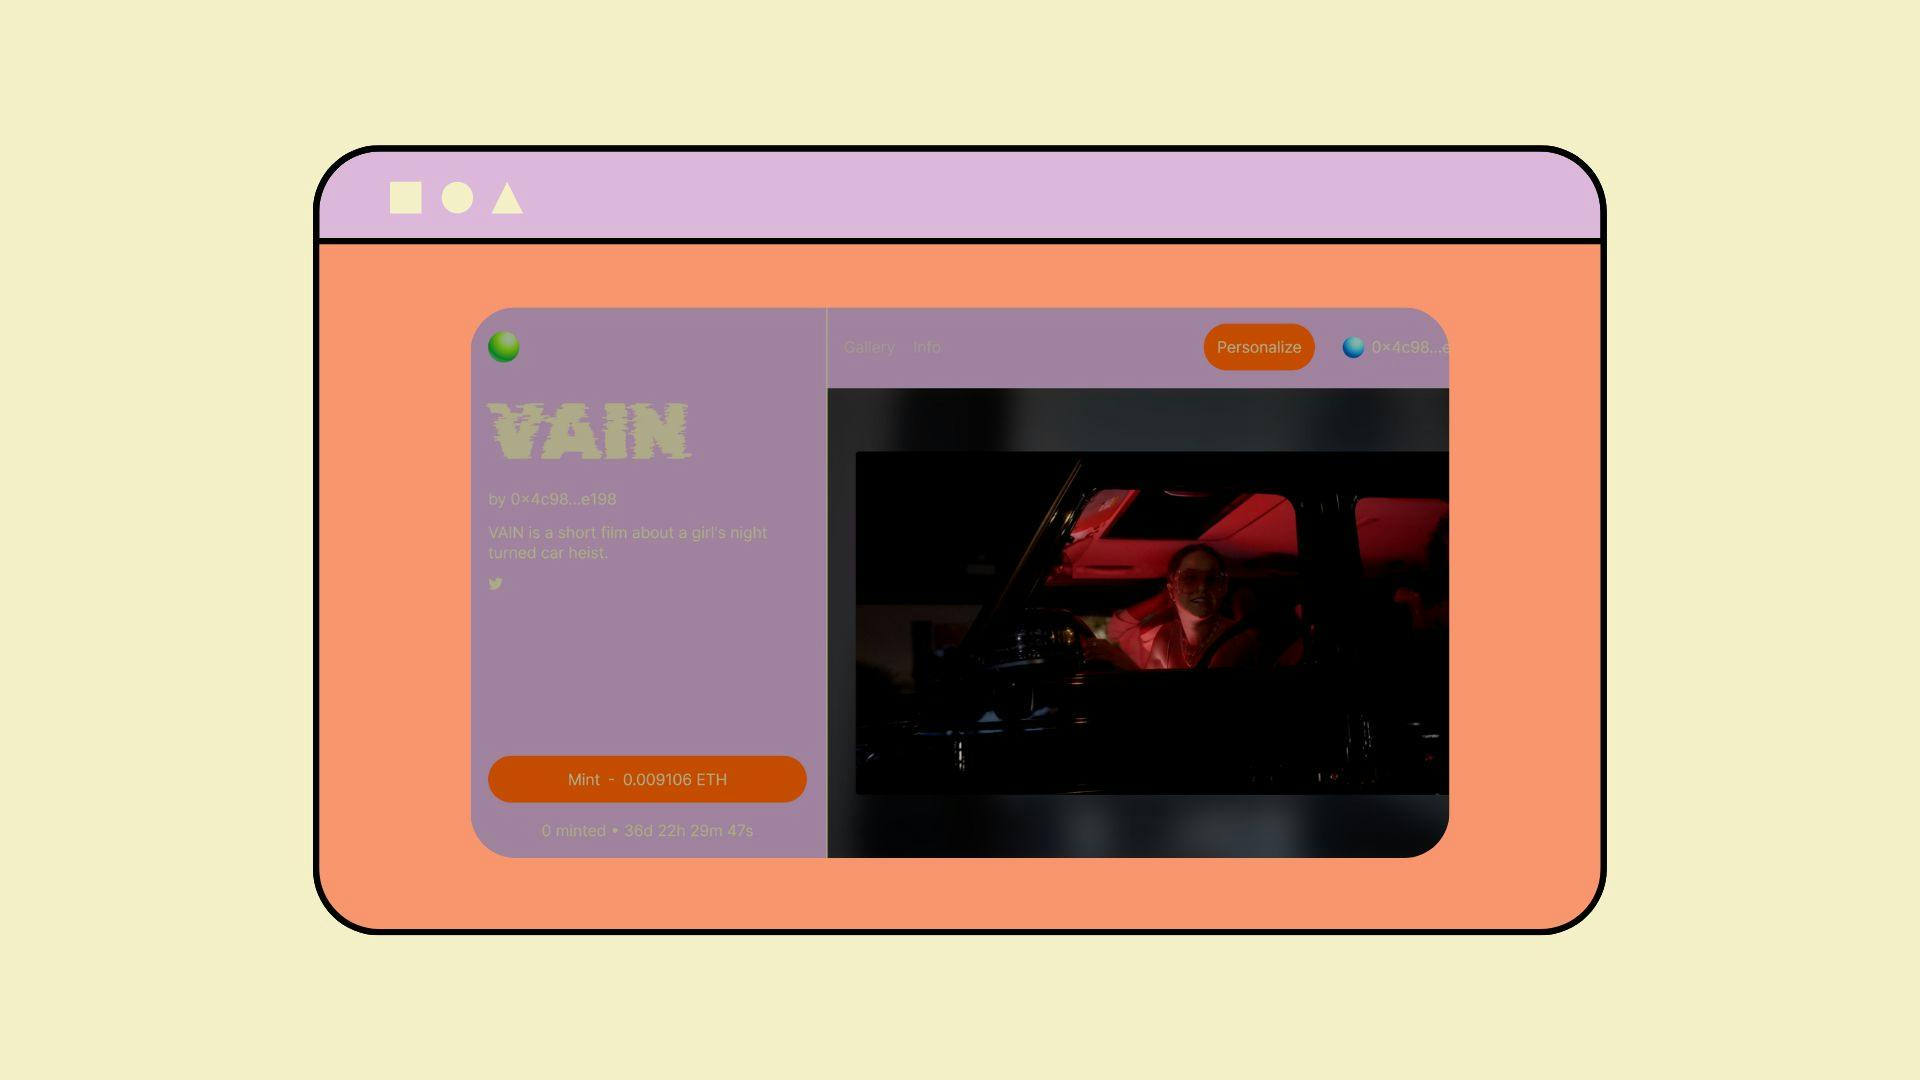
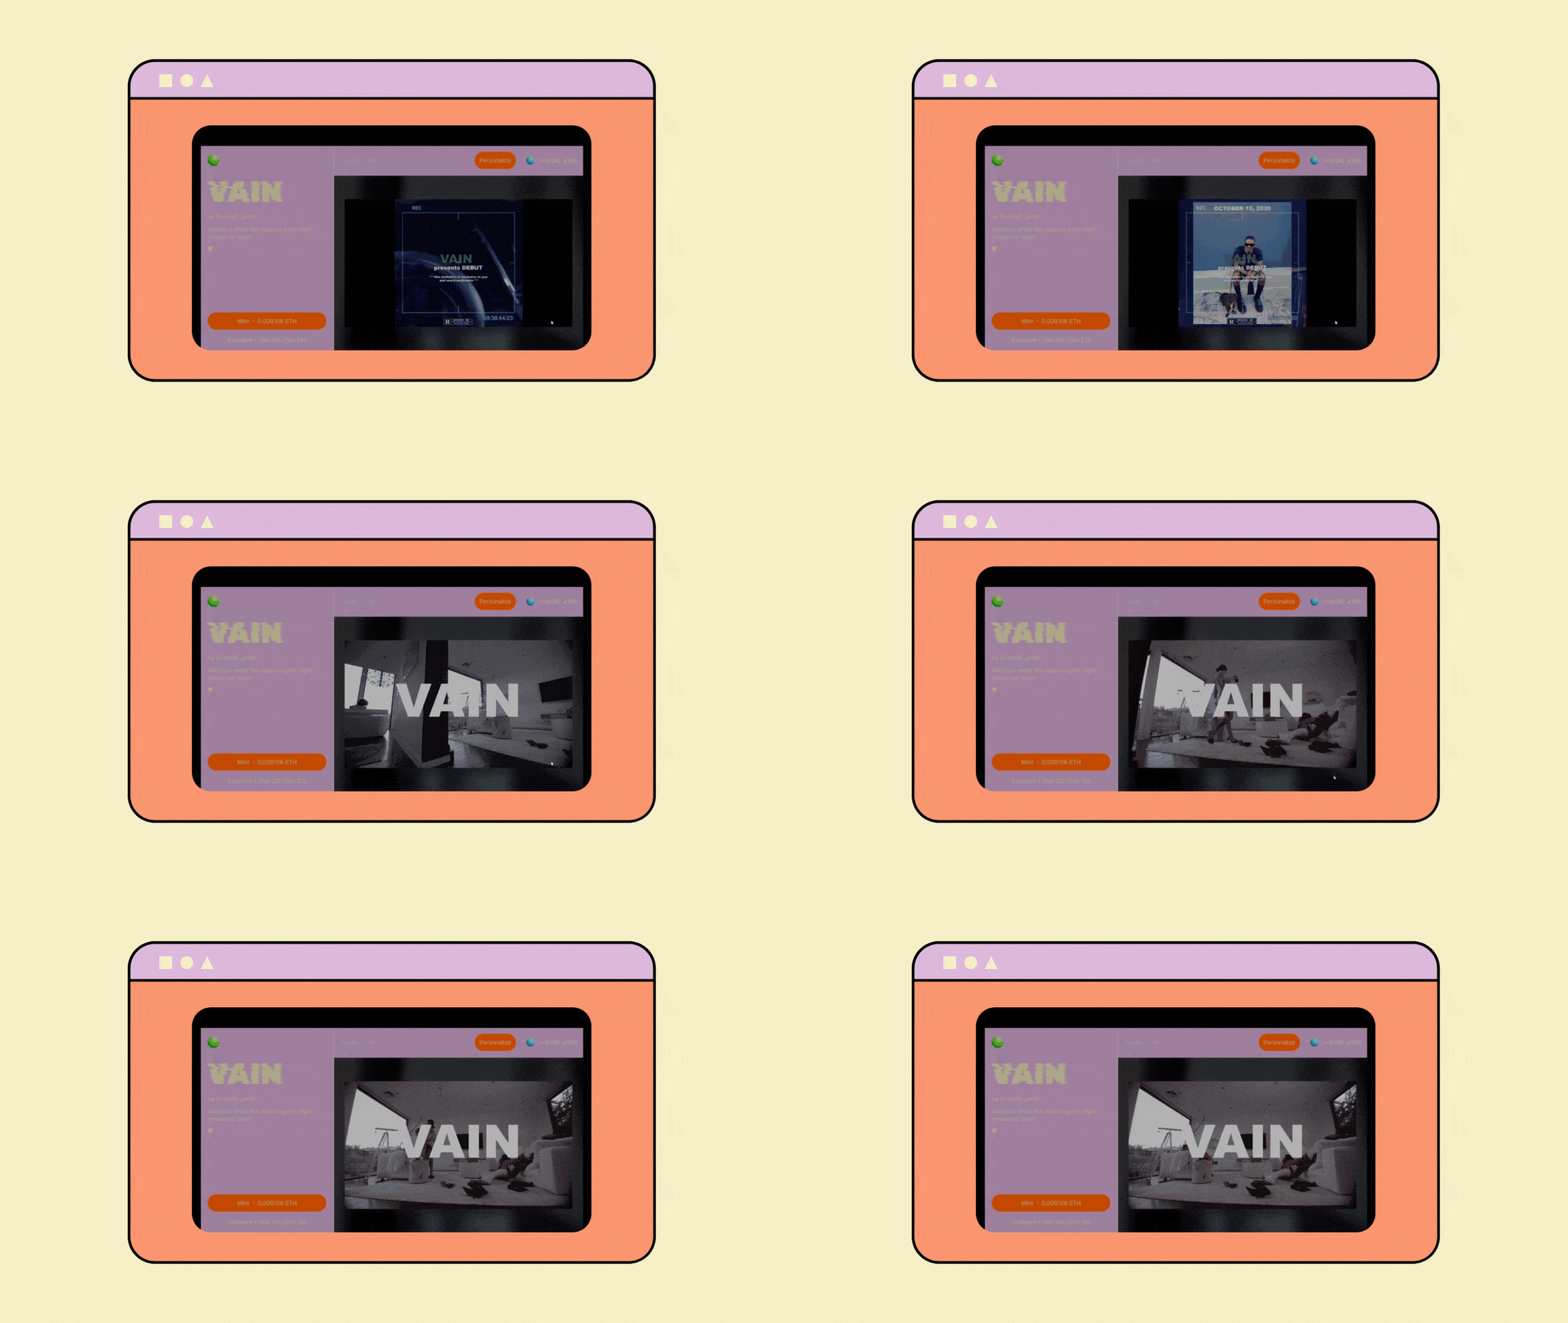
Check out my Zora Edition here.
